
Use this method if you need to link an RFID tag to your digital Samples inventory. You only need to use this tool if you are not directly printing using an RFID printer.
- Go to 'Sample Manager' on the desktop site
- Find the samples that you need to match with an RFID tag
- Select the sample using the checkbox on the left
- Use the 'Queue Options' to select "Add RFID tag with Mobile app".

- Go to the samples mobile app > "More" in the bottom nav > Settings > Sample RFID tag Setup

- If you dont see the samples you had queued earlier pull down to refresh the page.
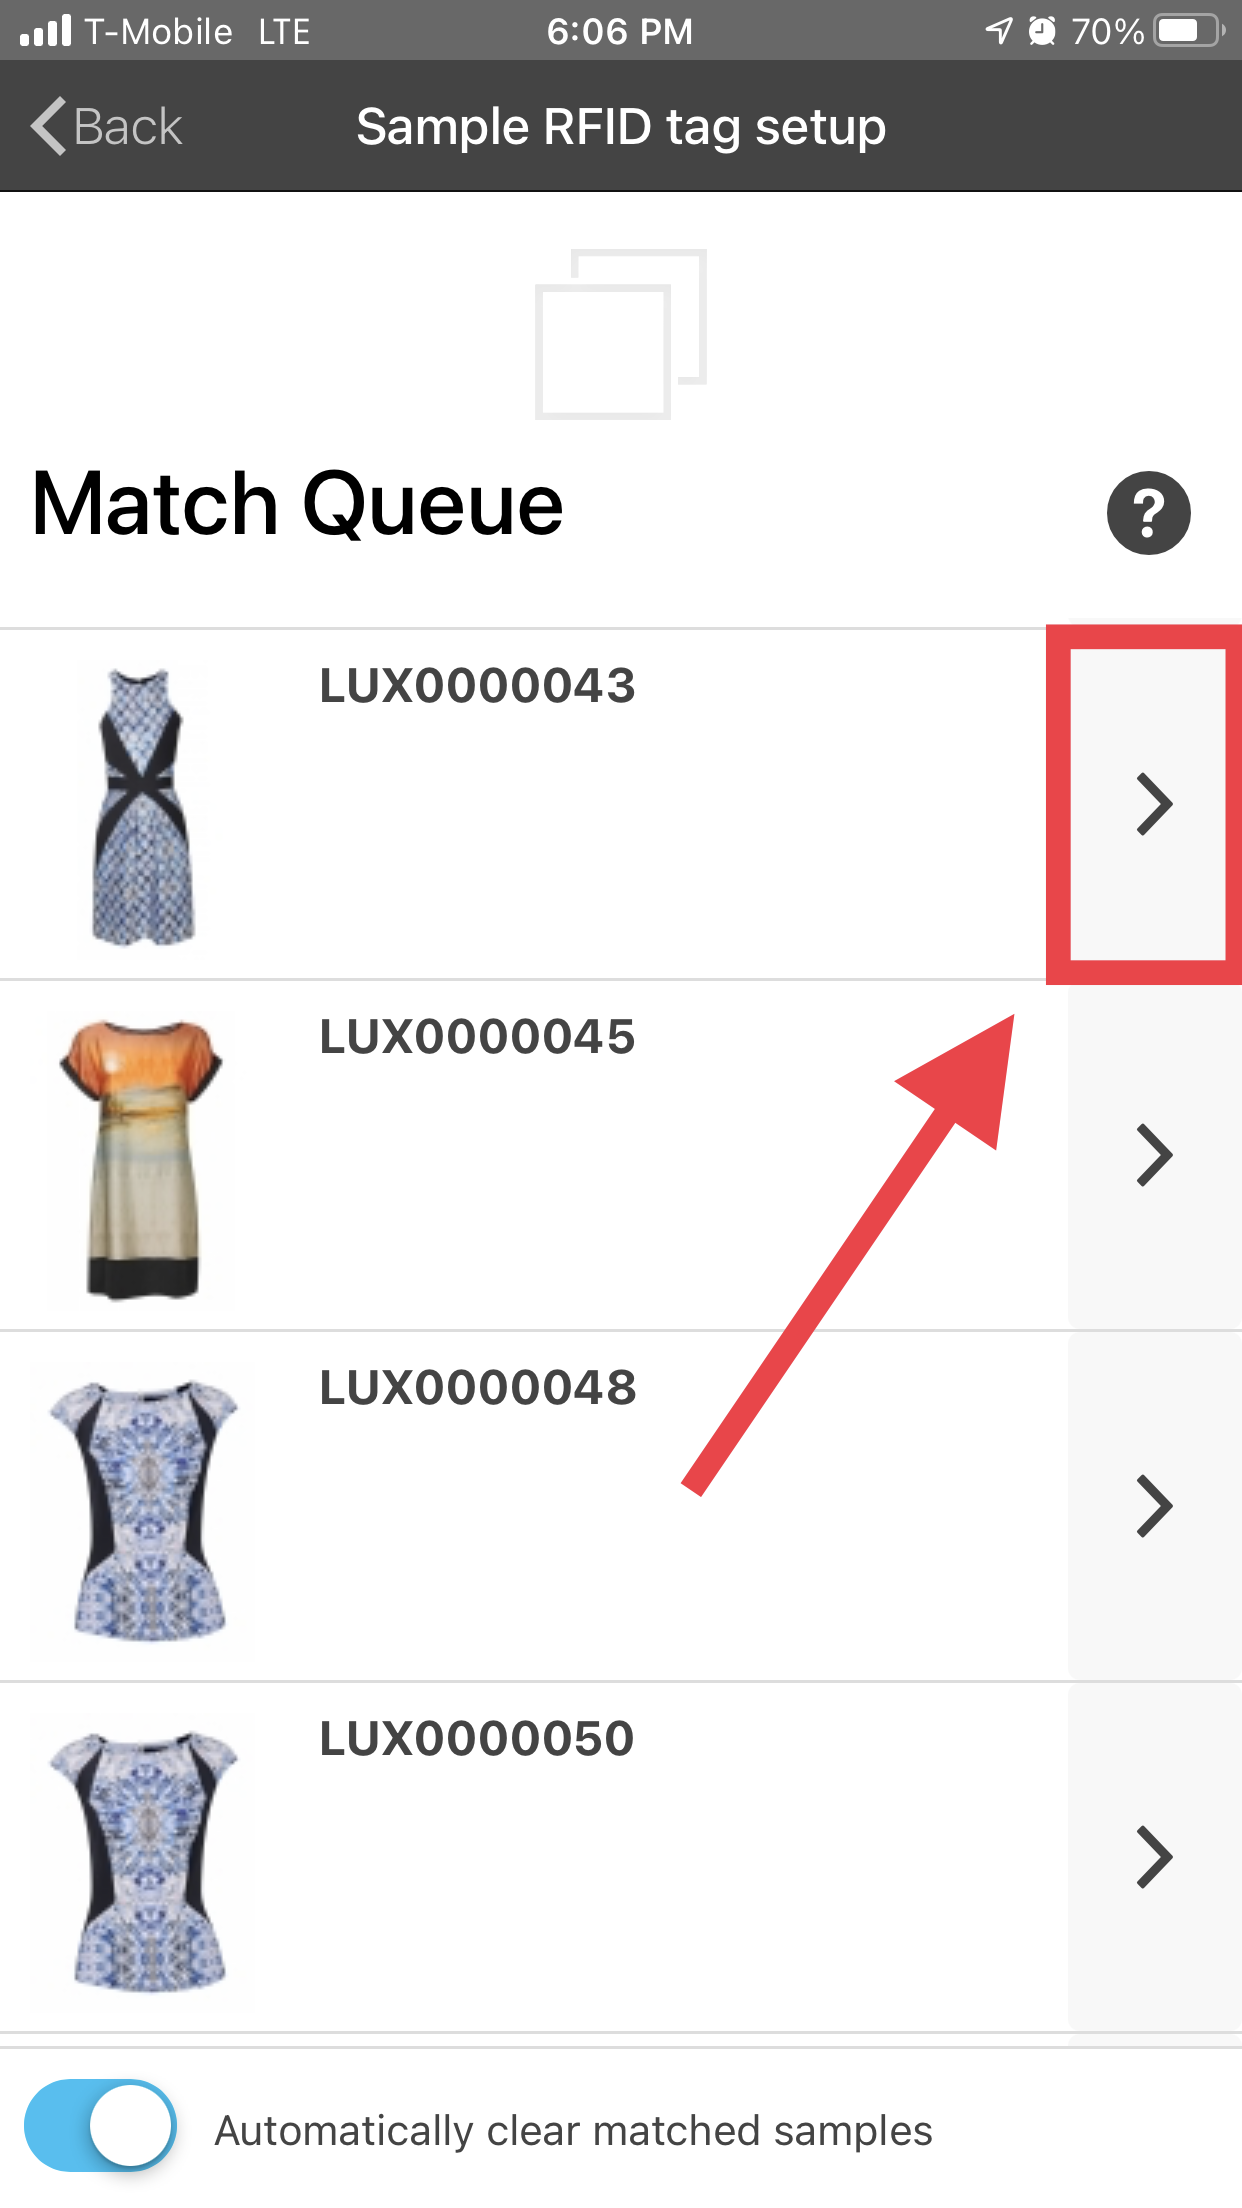
- You should see the list of samples ready to have their RFID tag scanned and matched
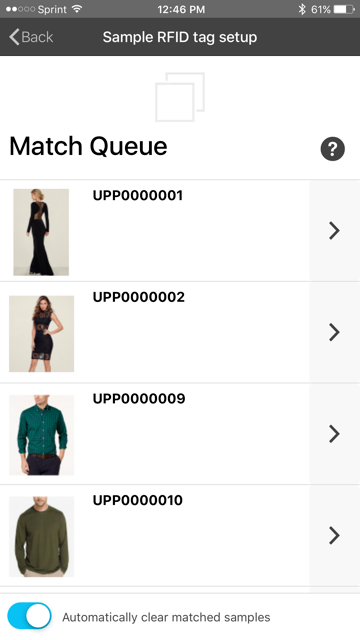
Note the setting "Automatically clear matched samples".
When this setting is toggled ON, samples that have been successfully matched will be removed from the 'Match Queue'.
- Tap on the right arrow on a sample to begin the match process
- Once you are on the detail screen you should see "Ready to Scan" at the top. At this point, grab the garment that should already have the RFID tag affixed and scan the tab. (Be sure not to have any other RFID tags in the vicinity)
Successful match
Other tags in the vicinity (Multiple items scanned)
If this occurs, make sure to keep RFID tags separated during this process so that there is only 1 unique tag read.