
In your user menu, navigate to the Web Font Manager
- Click + Add New
- Fill in all fields:
Font name — This is what you will see when selecting the font in the email designer.
Font CSS URL — A link to a CSS File containing @font-face rule. See this article for more details on getting the CSS link
Font Stack — A font stack is a list of fonts that tells the email client what fall back fonts to use in case the preferred font cannot be loaded. See this article for more details on why a fall back is needed. When defining your font stack, the first font is the name of the web font you want to use. Be sure to use the name as defined in the CSS file, if the font name has spaces, also be sure to surround it in single quotation marks, then followed by either a web-safe font or simply sans-serif or serif. You can include multiple fallback fonts listed in order of preference. Use comma for separation.
Example: ‘Raleway’, Arial, sans-serif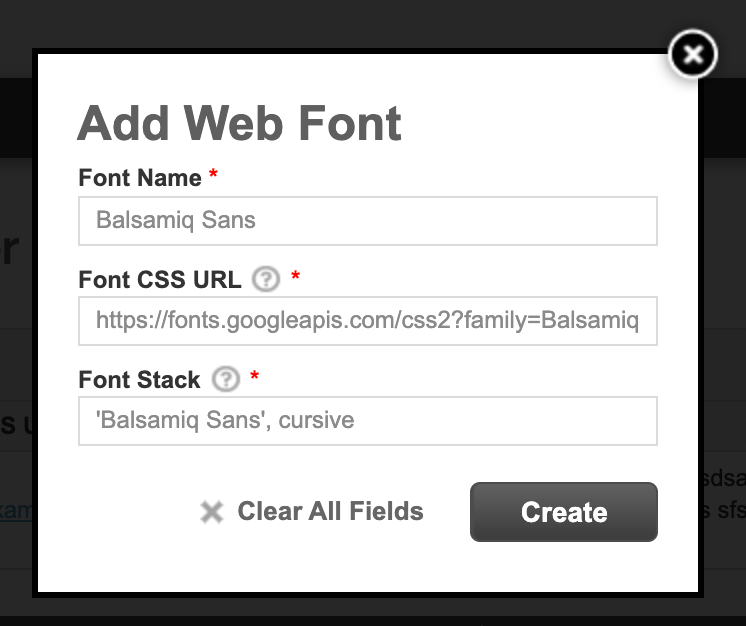
- Click Create
- Test to make sure the font & fallback works. See this article on how to test.