
Who is this for?
- If you are a team manage large quantities such as:
- An Archive or Library department
- Mass market brand
- Warehouse team
- If you store samples in multiple rooms/floors
- If you are sharing samples across several offices
- If you have employees working from home

Enable Sample Location tracking
For you to use this feature, it must be enabled at the site level. (There is no add-on fee) Please reach out to your CSM to enable it.
NOTE: If your CSM has enabled it, on the mobile app, you will have to refresh the session in order to see the feature enabled. In order to refresh their session go to the Settings tab, then pull down to refresh. That's it!
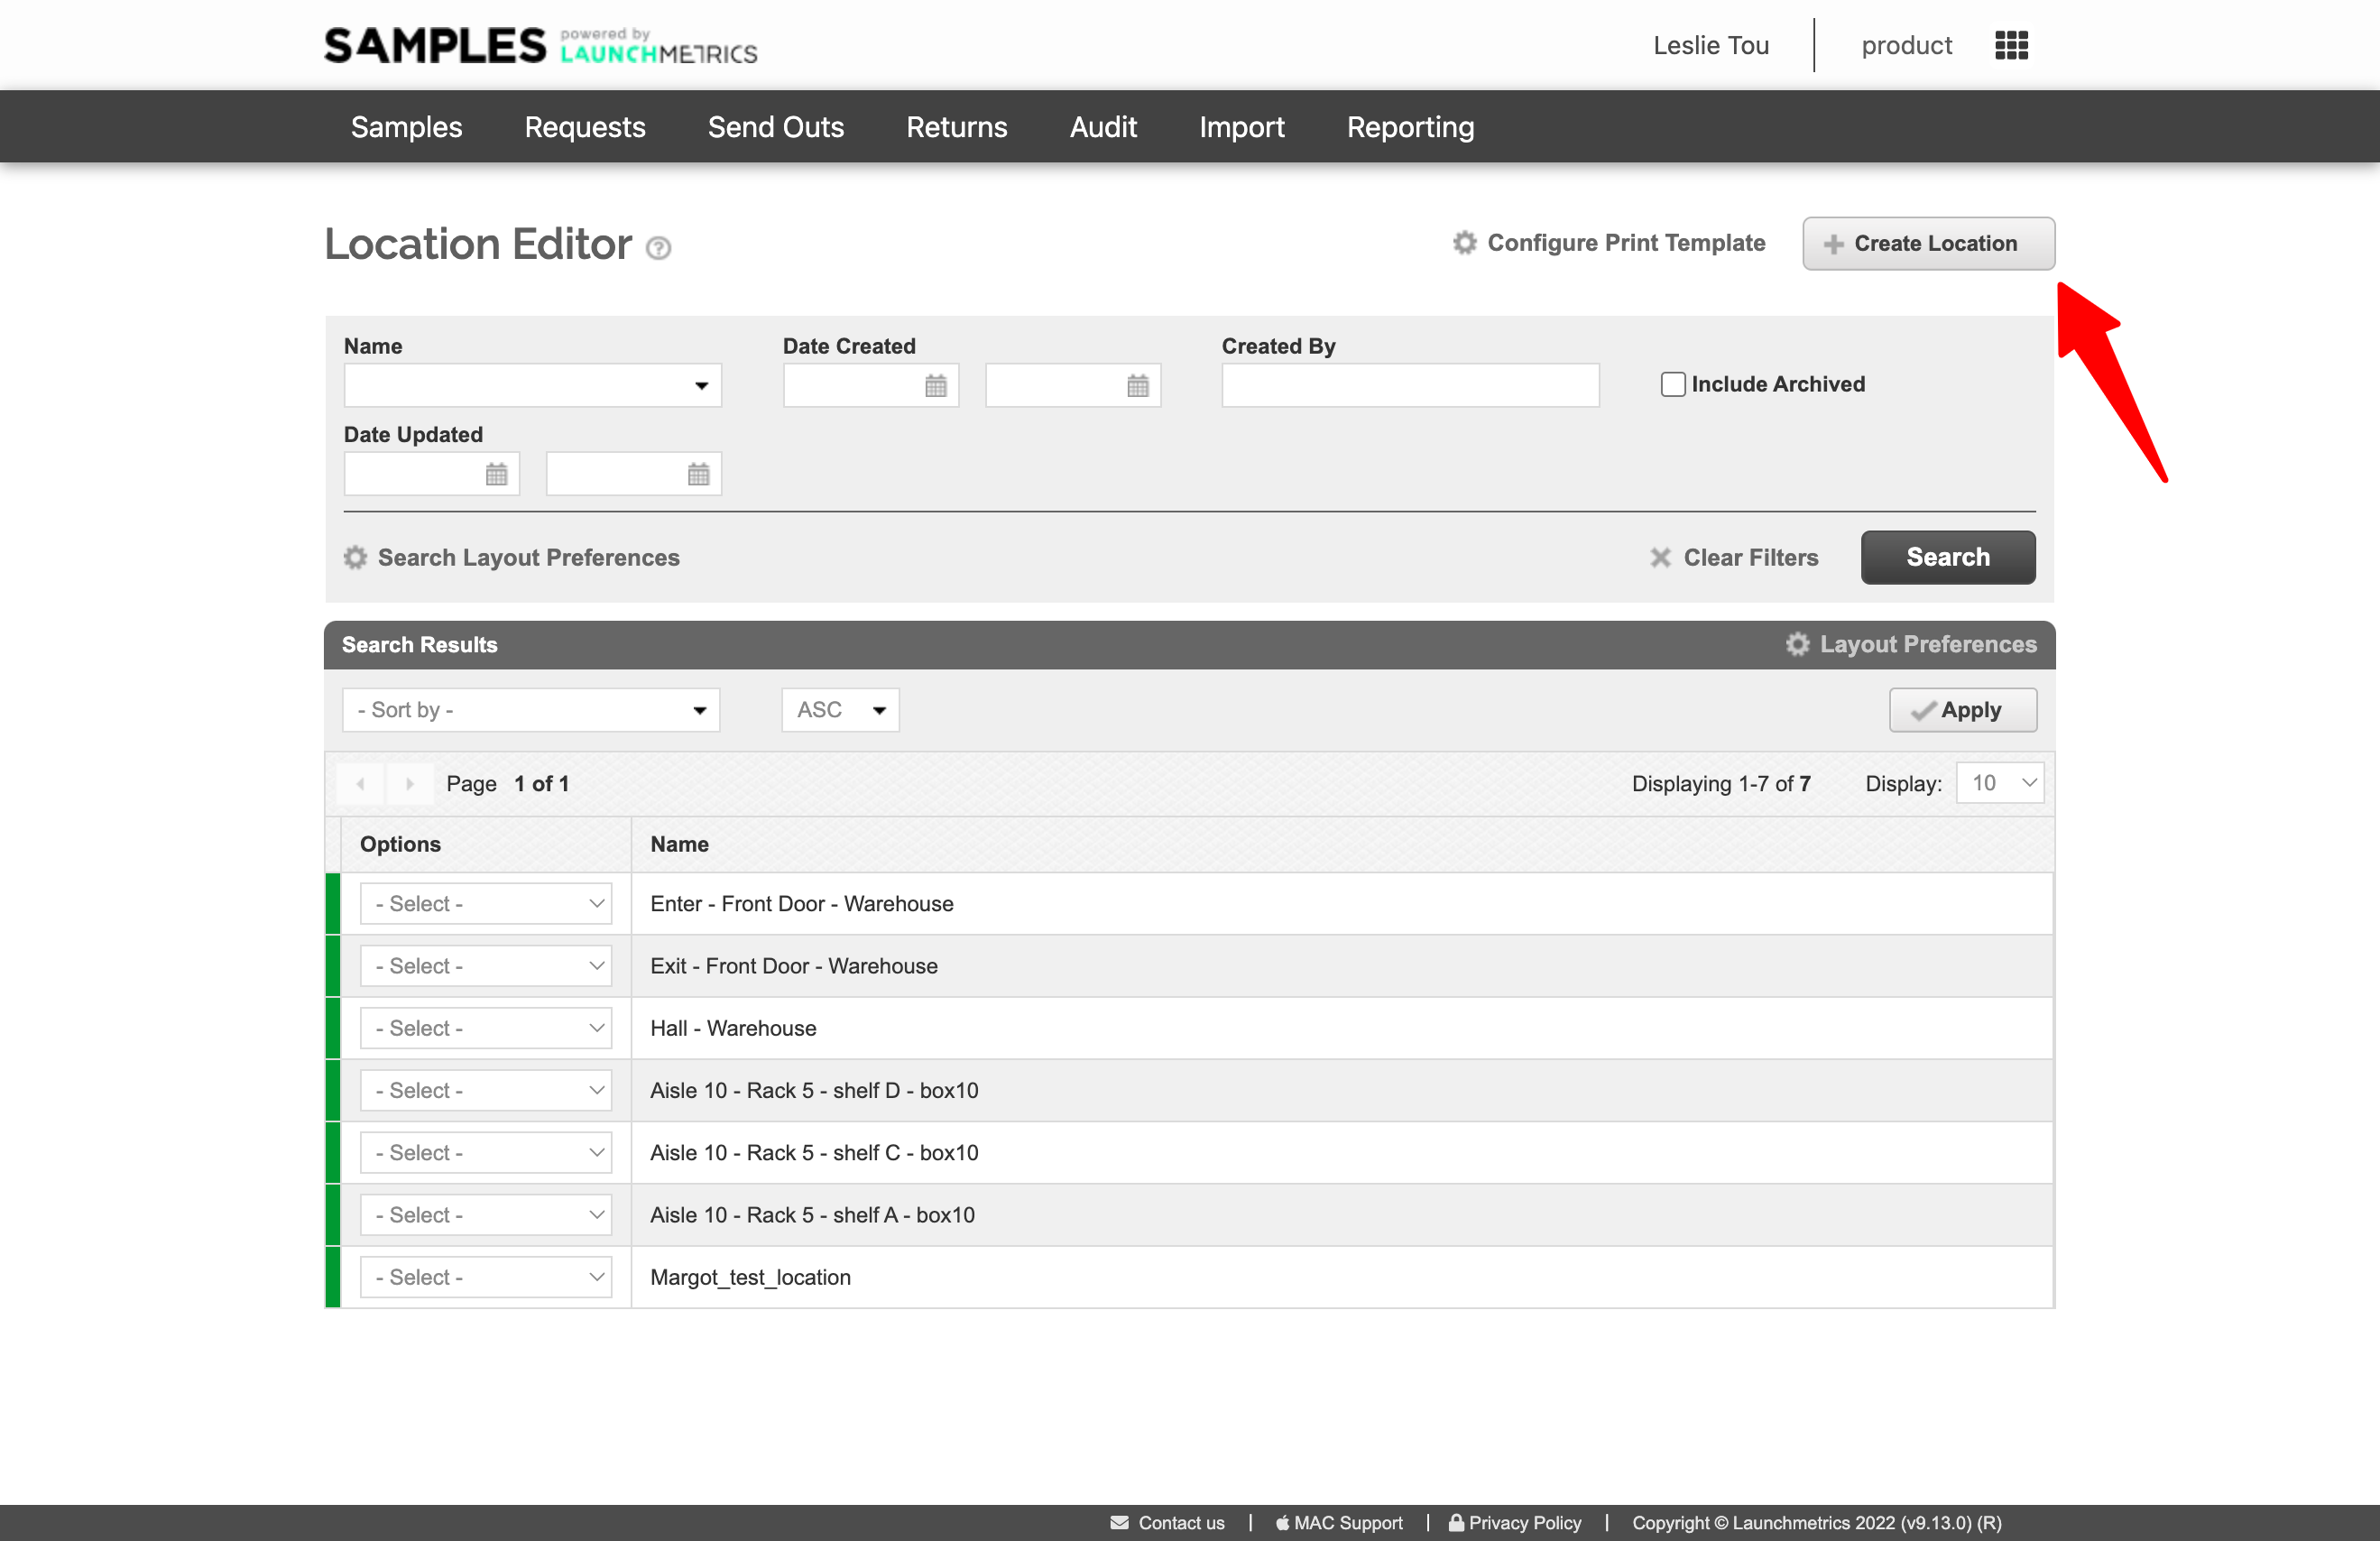
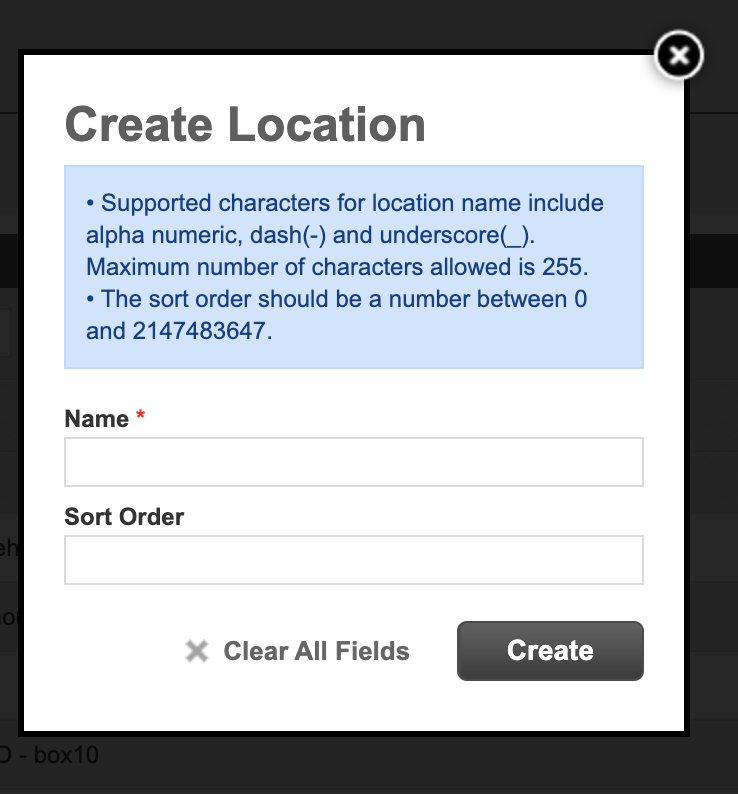
Predefine your locations
- Hover over the Samples menu in the main navigation to find Location Editor screen.
- Create list of locations by defining the name of the location.
- Location names are limited to 255 Alpha numeric charactersas well as dashes(-) and underscores(_).
- The reason for this limitation is because the location name is also used to generate Location Barcodes. When printing Location Barcodes, CODE 128 is the standard used and is limited to these characters. See section below for more on printing Location Barcodes.
- Locations can be archived when not in use anymore. Archiving simply prevents it from being selected during an update.
-
Location names can be changed. If changed, the new name will be reflected in all historical instances.
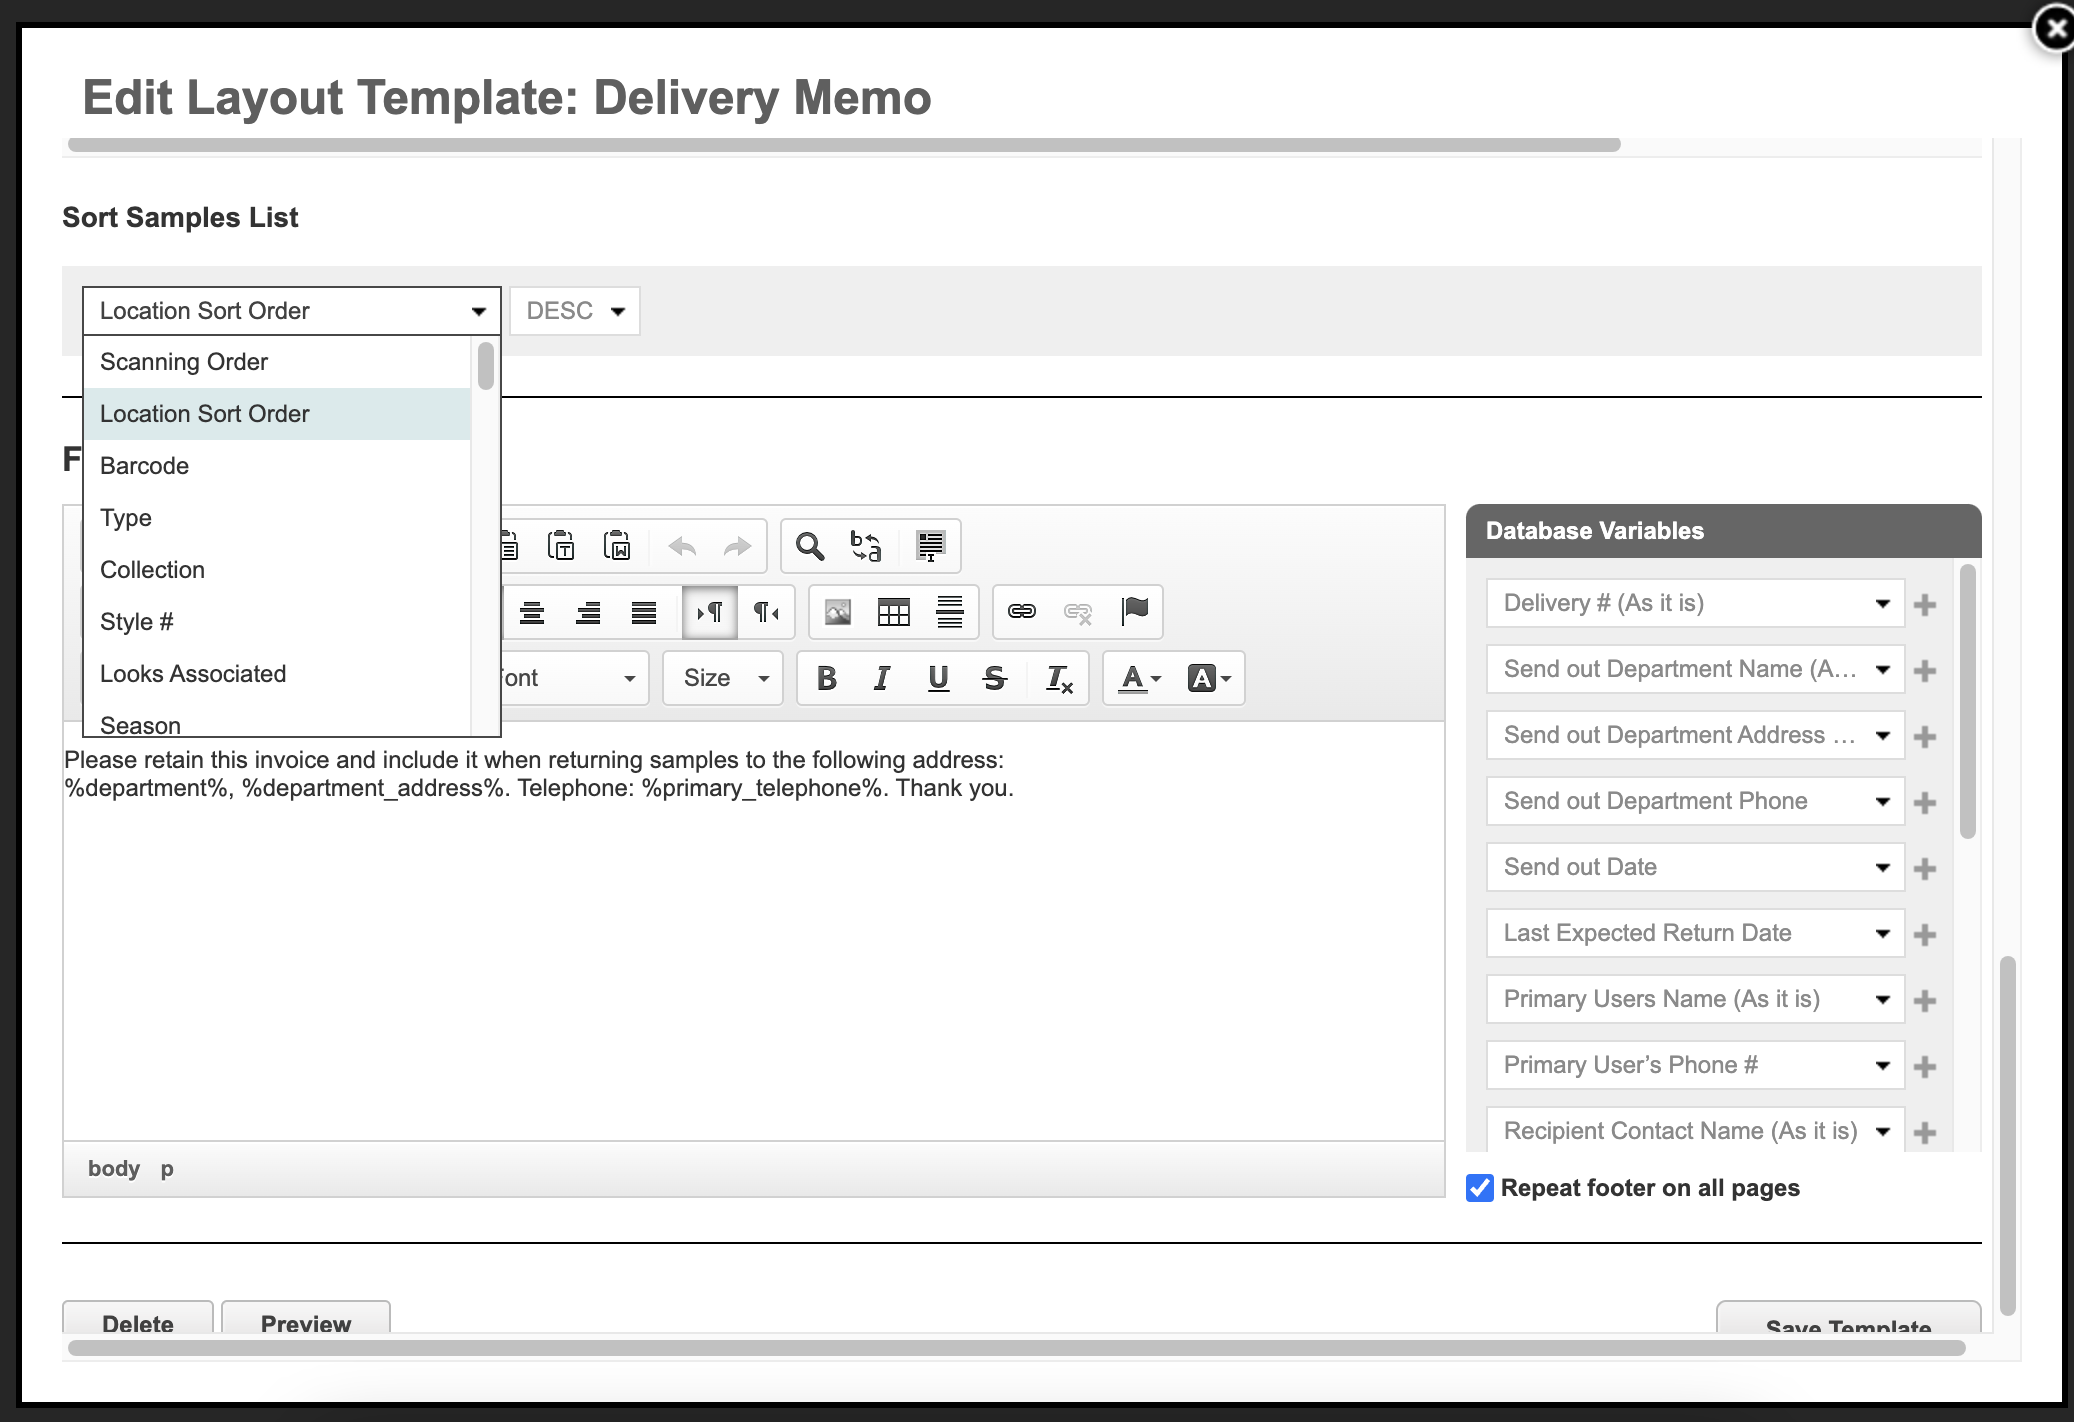
Location Sort Order can be added as a Location attribute.
This sort order can be used to ease the job of pickers when creating a send-outs and putting samples in the shipping box. Use it in your Delivery Memo template to sort the Samples.
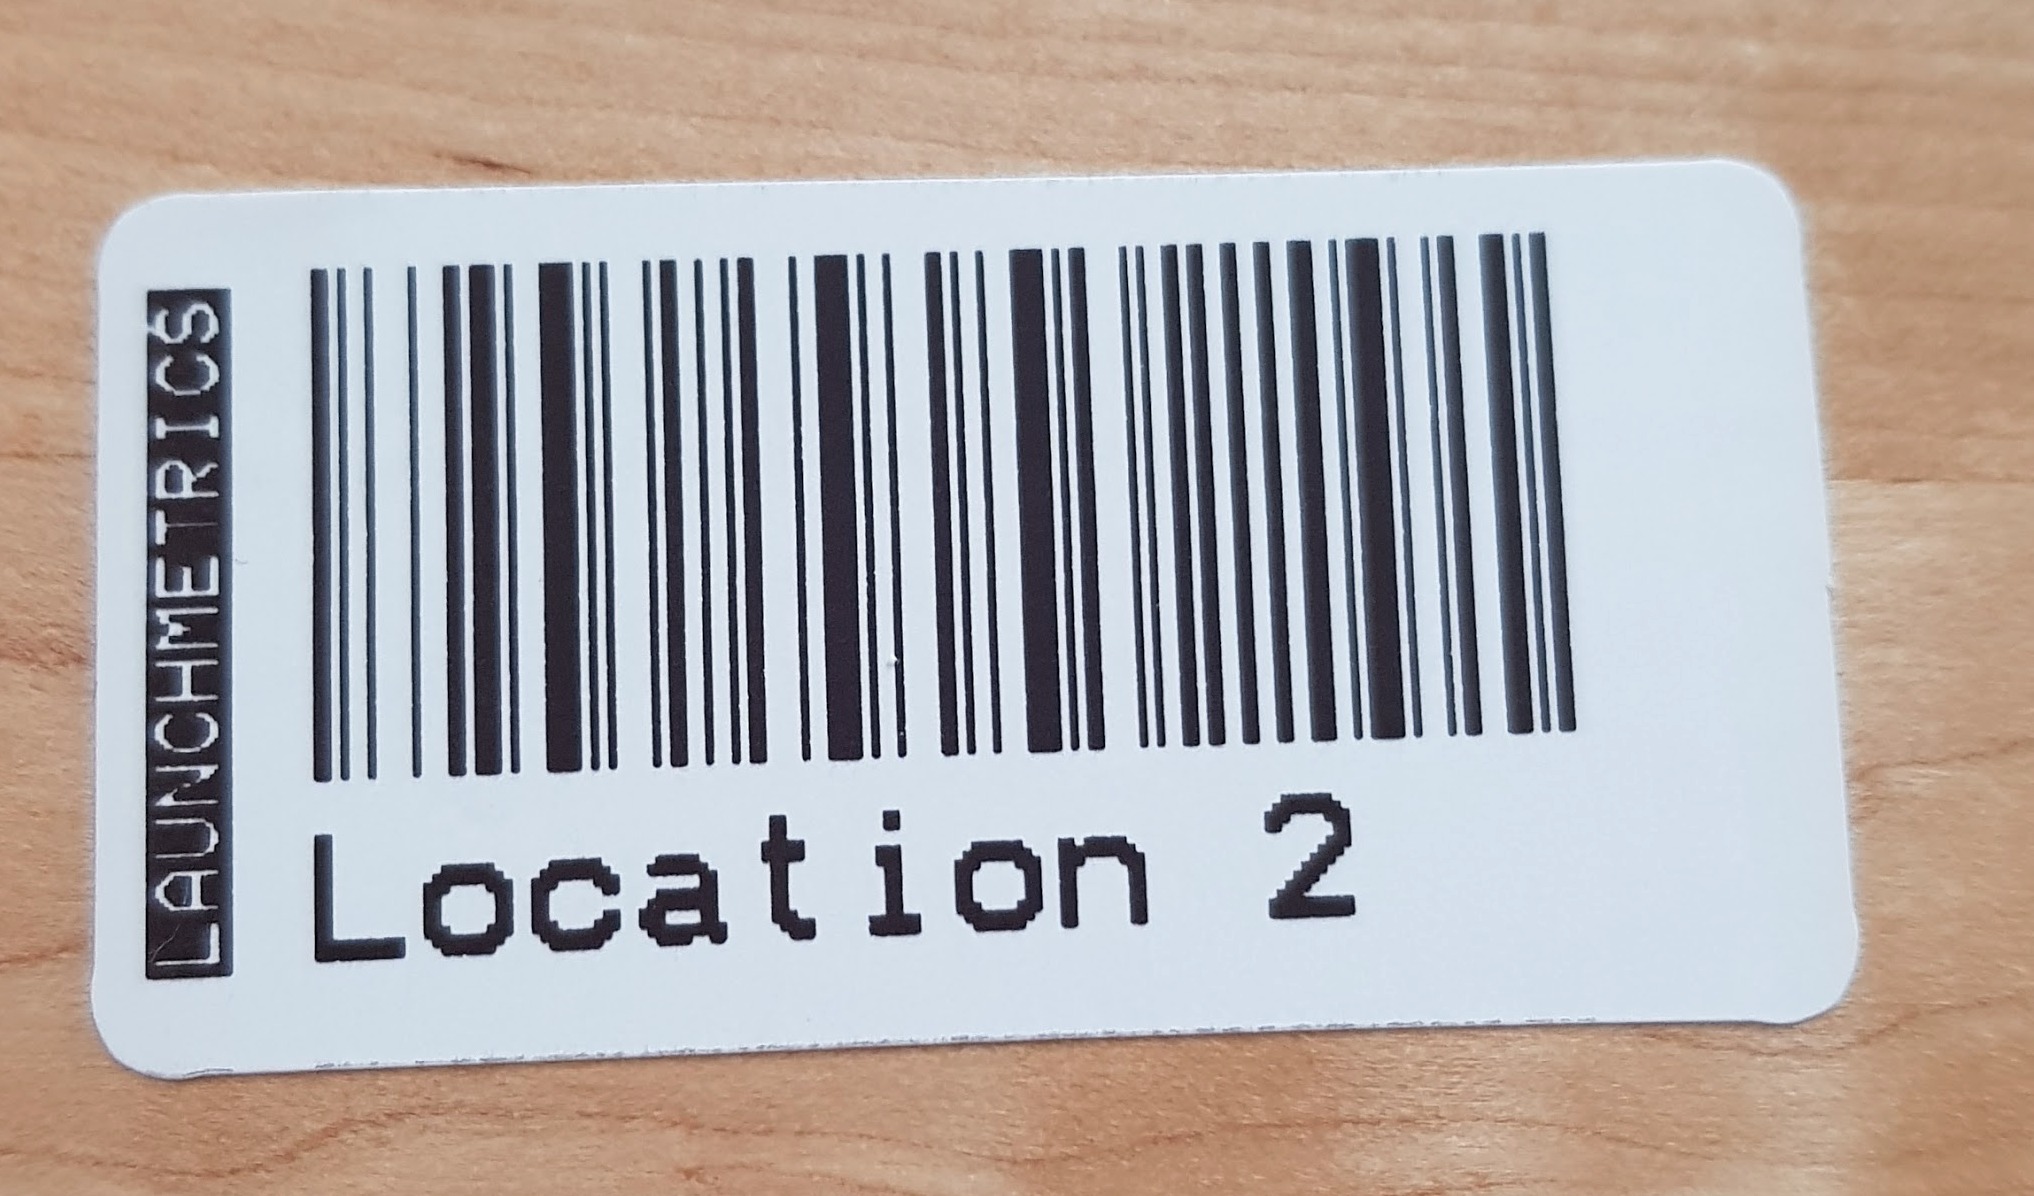
Print location barcodes
Locations can be printed as b128 barcodes labels for easy updating.
Having printed barcode labels for your Locations make for updating a sample's location very quick and easy. Follow the steps below to get set up to print Location Barcodes.
Select the printer
- Go to the Printer Setup page (Click your name in the header > Printer Setup)
- Look for the section called Sample Location Printer. You can select any barcode printer that is already installed on your computer. If you need help installing a printer, refer to these articles:
Configure the label template
- Go to the Location Editor page (In the main navigation hover over Samples > Location Editor)
- Click Configure Print Template button. Here you can customize the EPL/ZPL code and print a test label.
- At this time, you can only save 1 template at a time.
- The provided default template fits onto a 2x1 Label .
- For a template that fits onto a 6x4 address label Download the template here.
- Otherwise, work with your CSM or Implementation specialist to get the right template configured for your needs.
 2in x 1in Layout (default)
 6x4 Layout
Print Location Barcode
- In the Location Editor page (In the main navigation hover over Samples > Location Editor)
- In the options dropdown of a location, you can select Print Barcode.
Update a sample’s location
Update Location from Sample Manager
- In the sample manager, after finding a sample, Select Update Location in the options menu.
- Select a location from the list and click Update.
- From this view, you can see the last 3 locations
Update Location from Mobile app Sample Detail view
- From the detail view of a sample, scroll below the image and tap the Update Location button
- Scan a location’s barcode OR tap Select a Location to manually select from a list
Places that the detail view can be initiated:
- Scan (Barcode or RFID)
- Queue
- Returns
- Recently Returned list
- Samples on a Send Out
Update Location from Mobile app List views
- From certain list views, swipe left on a row to see actions
- Tap Update Location
- Scan a location’s barcode OR tap Select a Locationto manually select from a list.
List views that include this action:
- Queue
- RFID scan view (initiated by connecting an RFID scanner and scanning at least 1 rfid tag
Automatically clearing Location when going out on a loan
When it goes out on a loan, the location is updated to automatically to have no location. The reason is that since the sample is currently “in Transit” the assumption is that it has been removed from it's storage location.
Update Location when returning/receiving samples
When returning/receiving a sample, there is a persistent setting that the user can either leave blank or update as they scan samples. Once you select a location, it will apply that location to any subsequently scanned sample until it's changed again or the page is refreshed.
Also, leaving the location with no selection means that the location will be updated as such. This field behaves differently based on the configuration setting as described in the section above.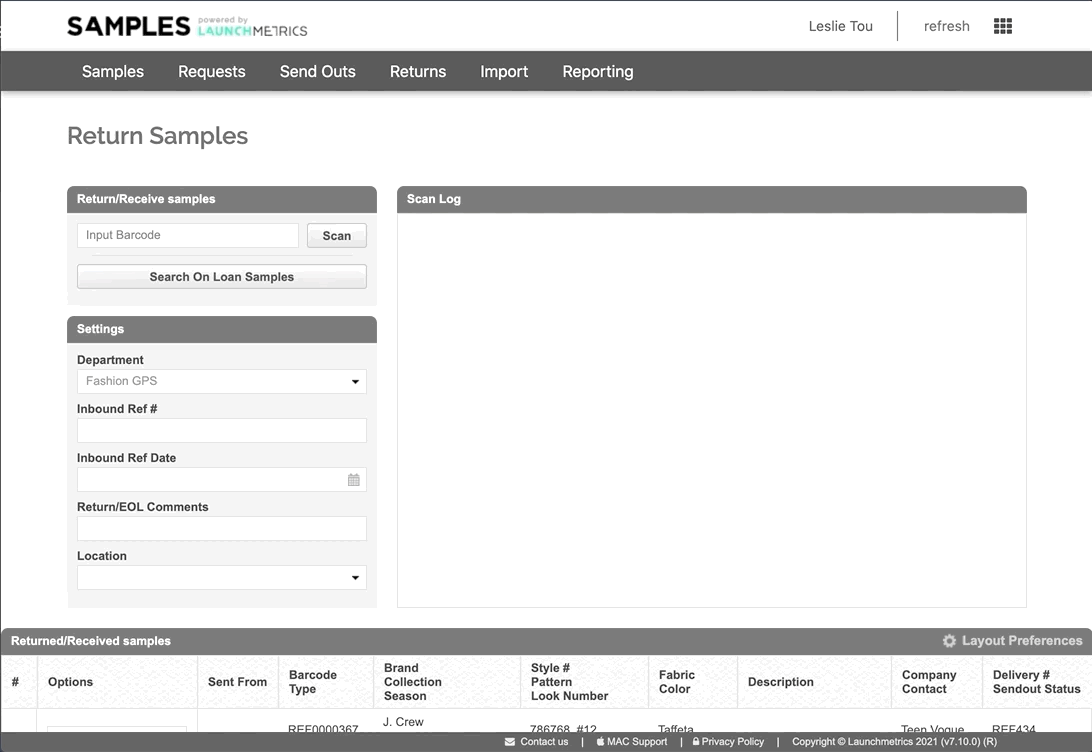
Update Sample Location via Return Screen
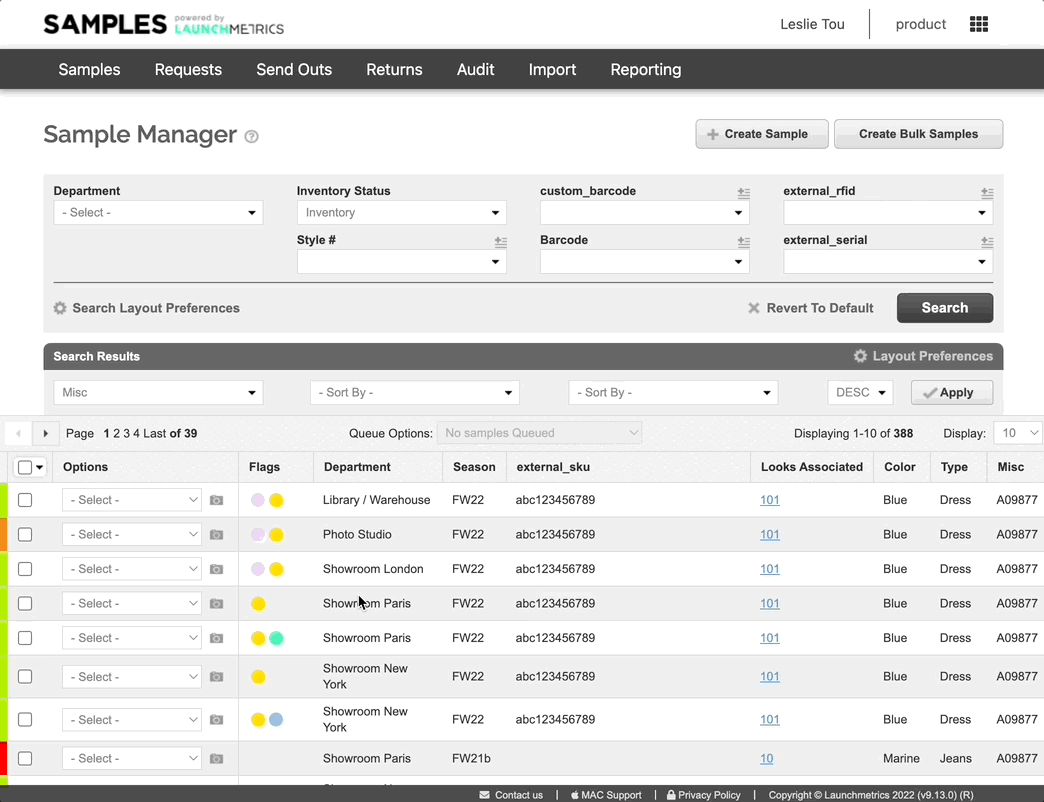
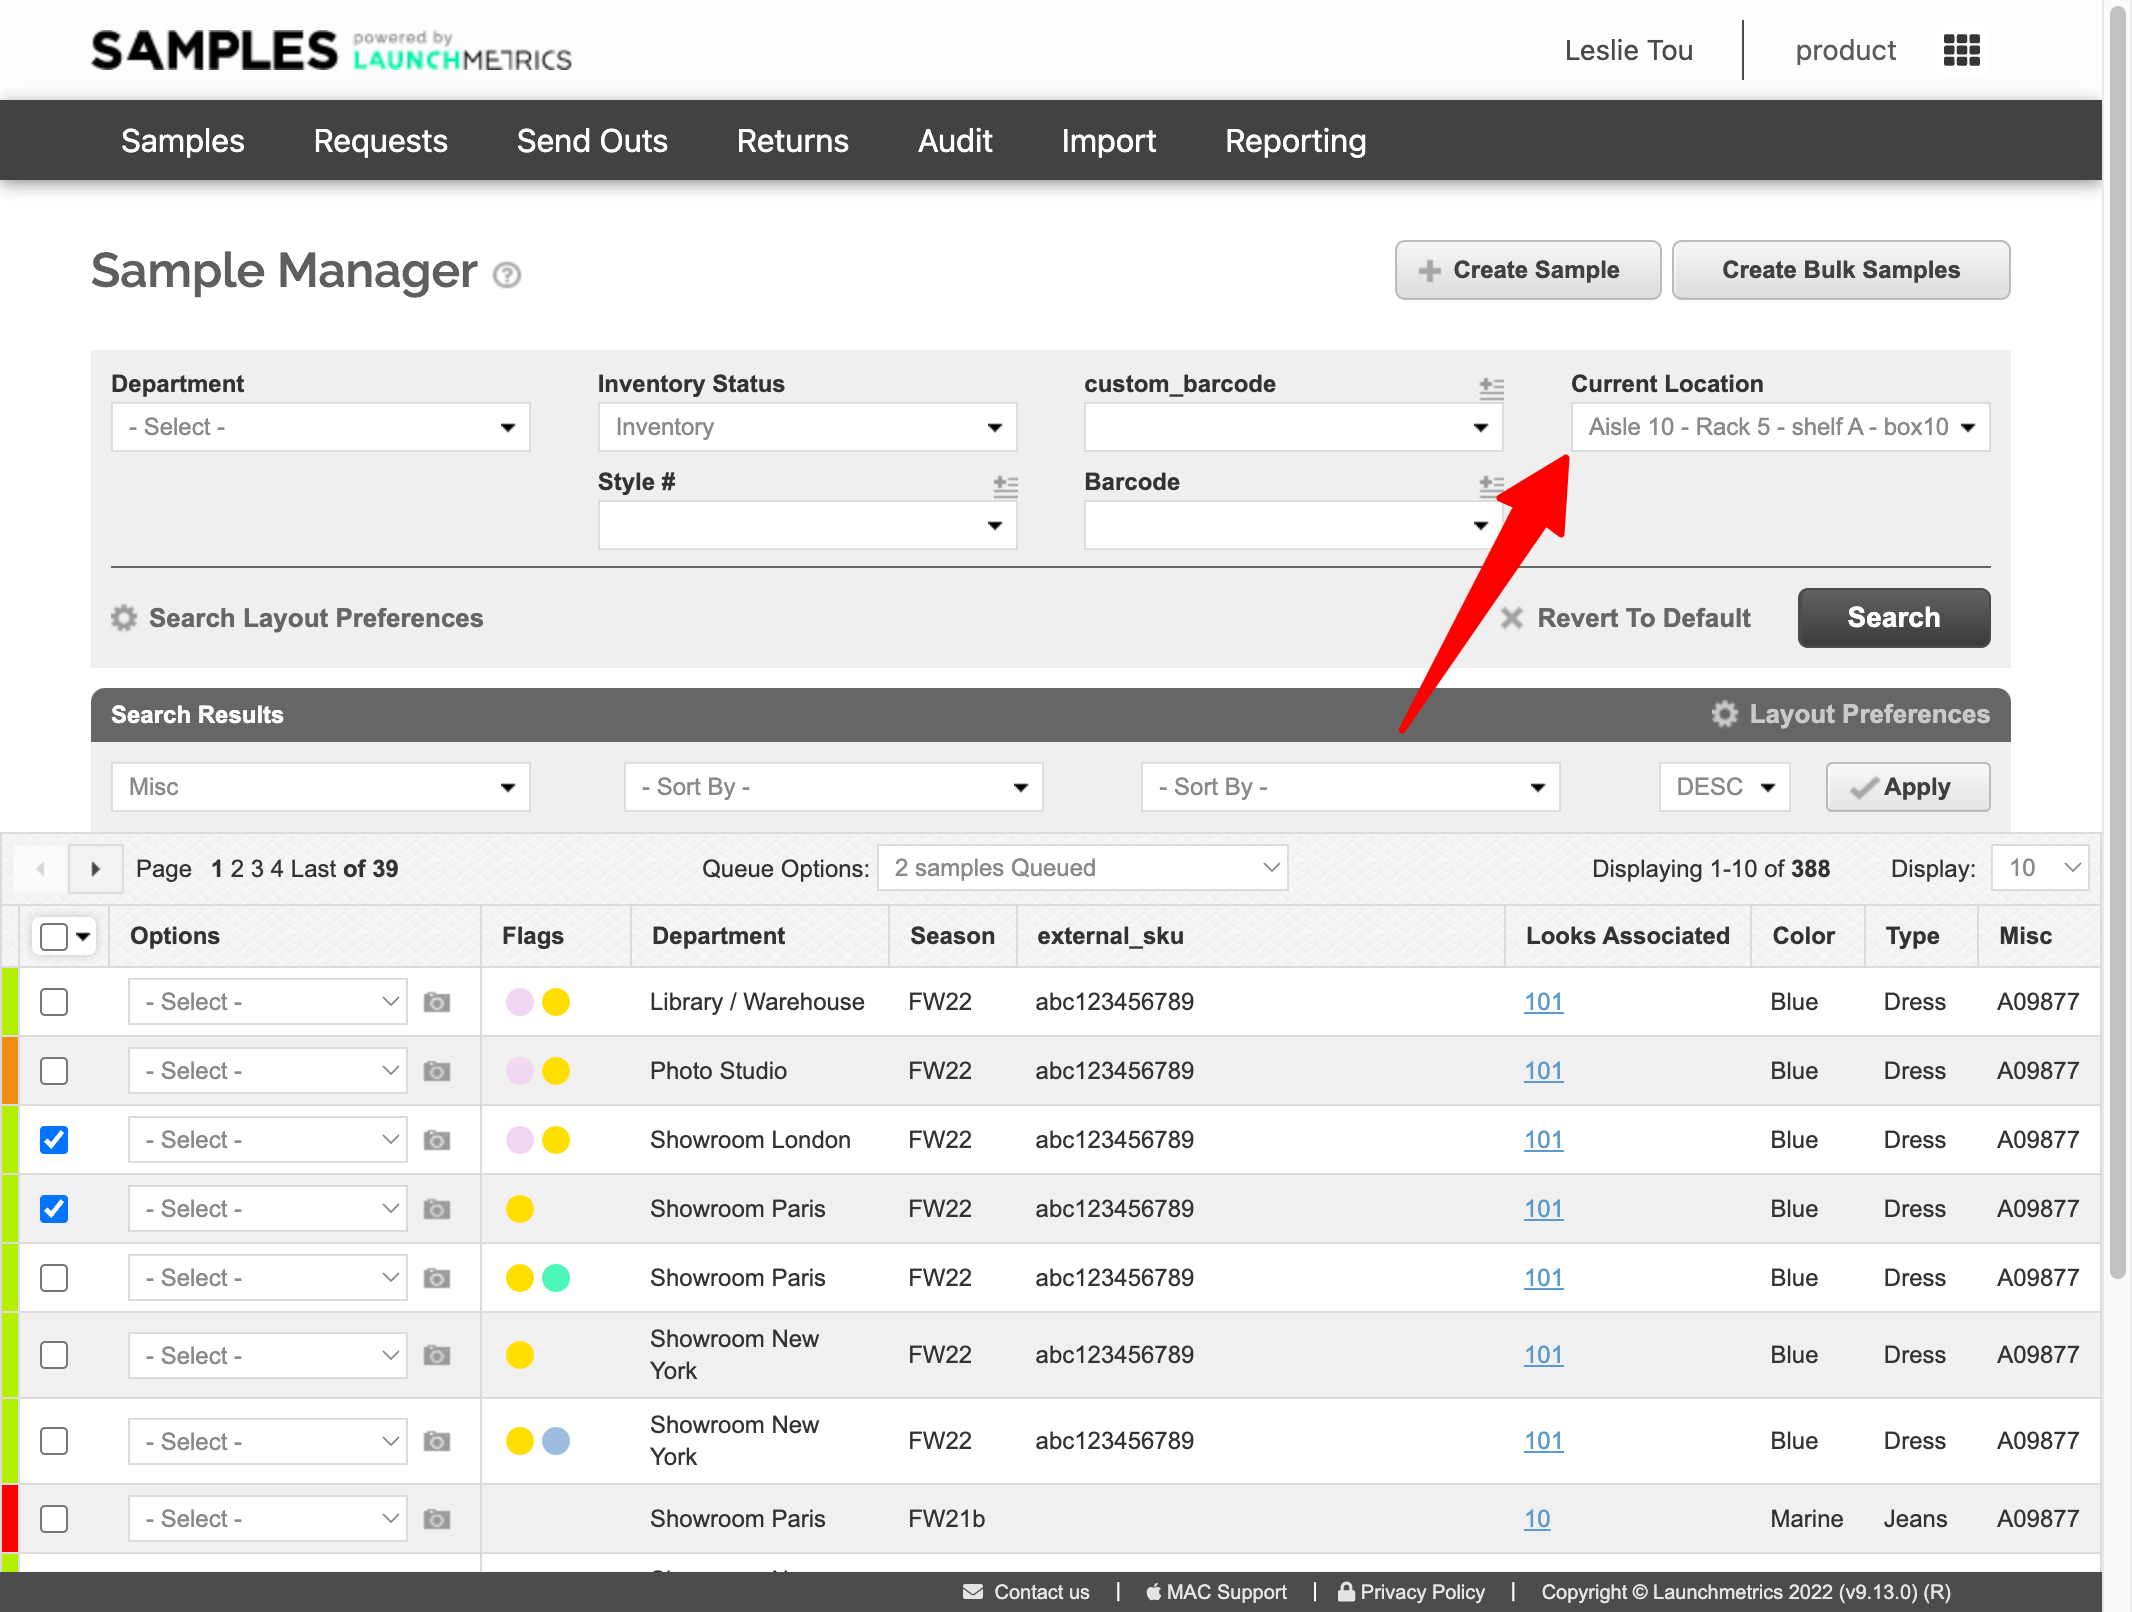
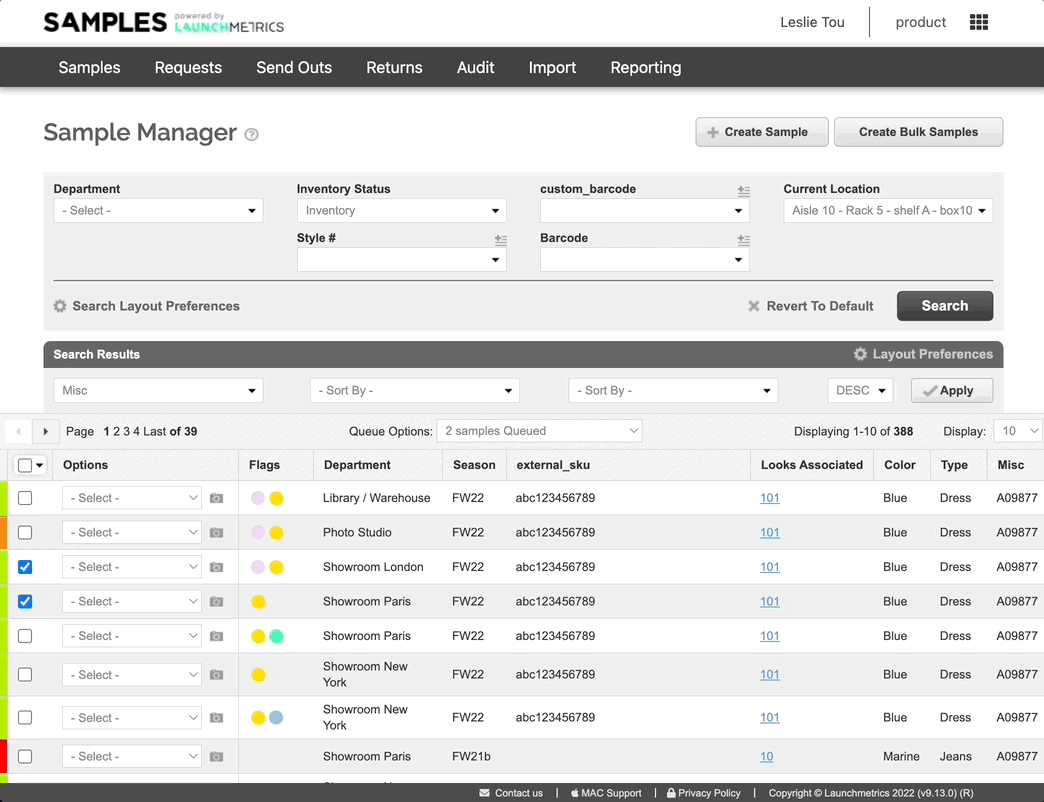
Find all samples in a certain location
- To search for samples in a particular location, go to Sample manager, search by Current Location.
- To see Locations in your results, add the Current Location layout preference to your results table.
See a sample's Location history
From sample manager, in the left options dropdown of a sample, select View Location History.
The history will include:
- The location name
- Date/time that it was updated to that location
- Who did the update
- Method used to update the location.
Below include a list of methods and when they are used:
| Method Name | When it's used |
|---|---|
| Mobile app | When a sample's location is updated manually on the mobile app using a scan or selection |
| Web Browser | When a sample's location is updated manually on the web using sample manager |
| Antenna | Updated by an antenna via our api integration (coming soon) |
| Sent Out | When the sample has been sent out on a loan, the location is updated to blank automatically |
| Received | When the sample is returned or received, the location is updated based on the user setting |
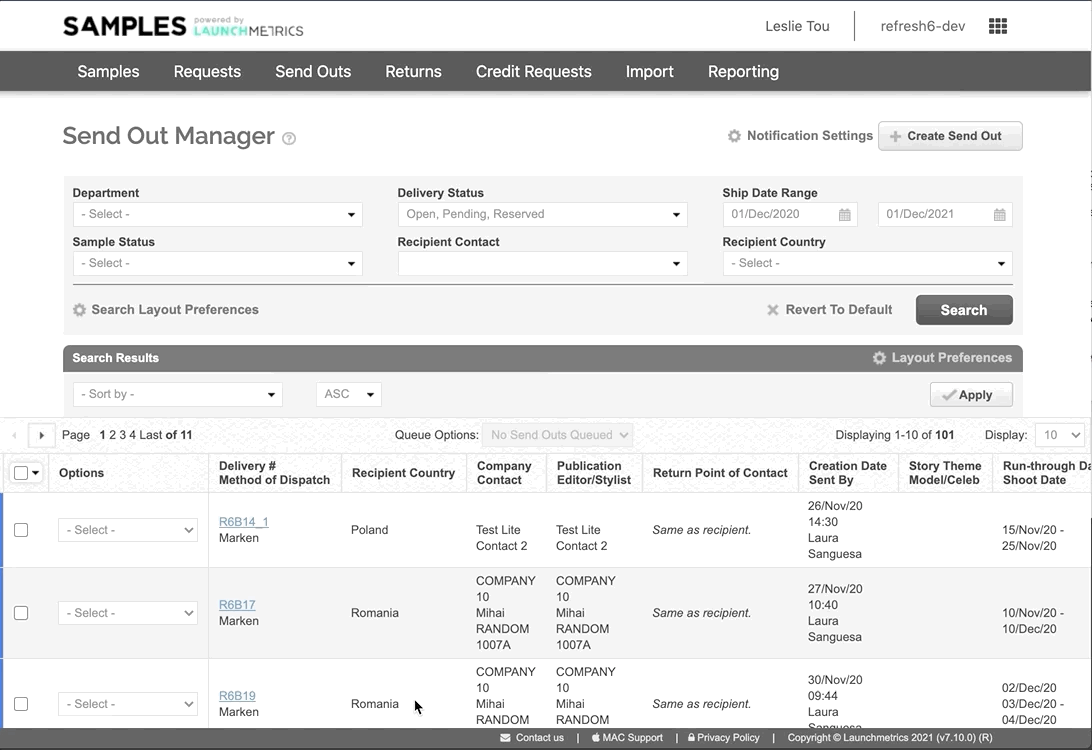
Picking samples for a Send Out by Sample Location
This workflow is also called "picking" in warehouse terminology. It refers to the process of finding the items that will fulfill an order. There is a "Pick List" that is referenced (In our system it is all the samples on a send out), and a person will go through the storage facility to collect the items. As you can imagine, a person might pick dozens of orders per day so speed is very important. When the location is configured in a way that is sequential both in the naming and also physically in the layout, sorting the pick list by location can make picking incredibly efficient.
-
Go to the Confirm Outgoing Send Out page— In Send Out Manager, in the options dropdown of a send out, click Confirm Outgoing Samples.
- Note that this option is only available if the reservation is on or passed it's ship date.
- Add Current Location to the layout preference — Click Layout Preferences to add the Current Location column
- Sort by — Once the column has been added, update the sorting to use Current Location OR Sort Order (which is an attribute added to a Location meant to easily manipulate the sort order)
- Confirm as they Pick — At this point, the user can then start from the top, find the items and click confirm as they pick.
Bulk update location from mobile
As a mobile user, access a page called Update location allowing you to easily update locations for many samples at once. This is tab can be accessed from the More button in the bottom right of the navigation bar.
- Scan the location barcode to define the location to move the samples to.
.png) .
. .png)
- Then, scan samples, one by one, to move to this location.
.png) .
. .png)
Note: While you scan to update location, departments do not matter, as long as you have access to a sample you can modify its location.
After each scan, the sample details will be displayed with the updated location. You can access the list of recently updated samples from the top navigation. Swipe left on the Samples will reveal the Update Location, Add Photo, and Print Label.
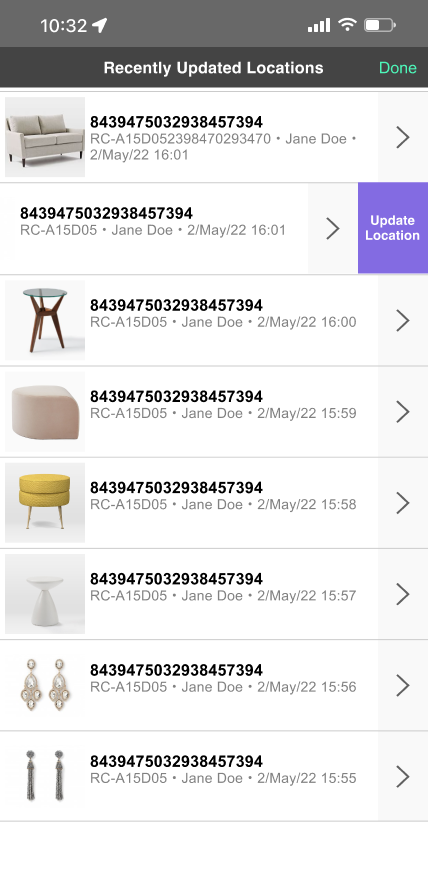
The Location Update column (username, latest location, date, and time) can be added to the mobile display from layout preferences.