
Now that you have successfully installed the printer onto your computer and installed QZ Tray, you must now connect your printer to the Launchmetrics' Samples application.
- Navigate to your Launchmetrics site and click your username on the top right hand corner.
- Select "Printer Setup" and you will be taken to a new page.
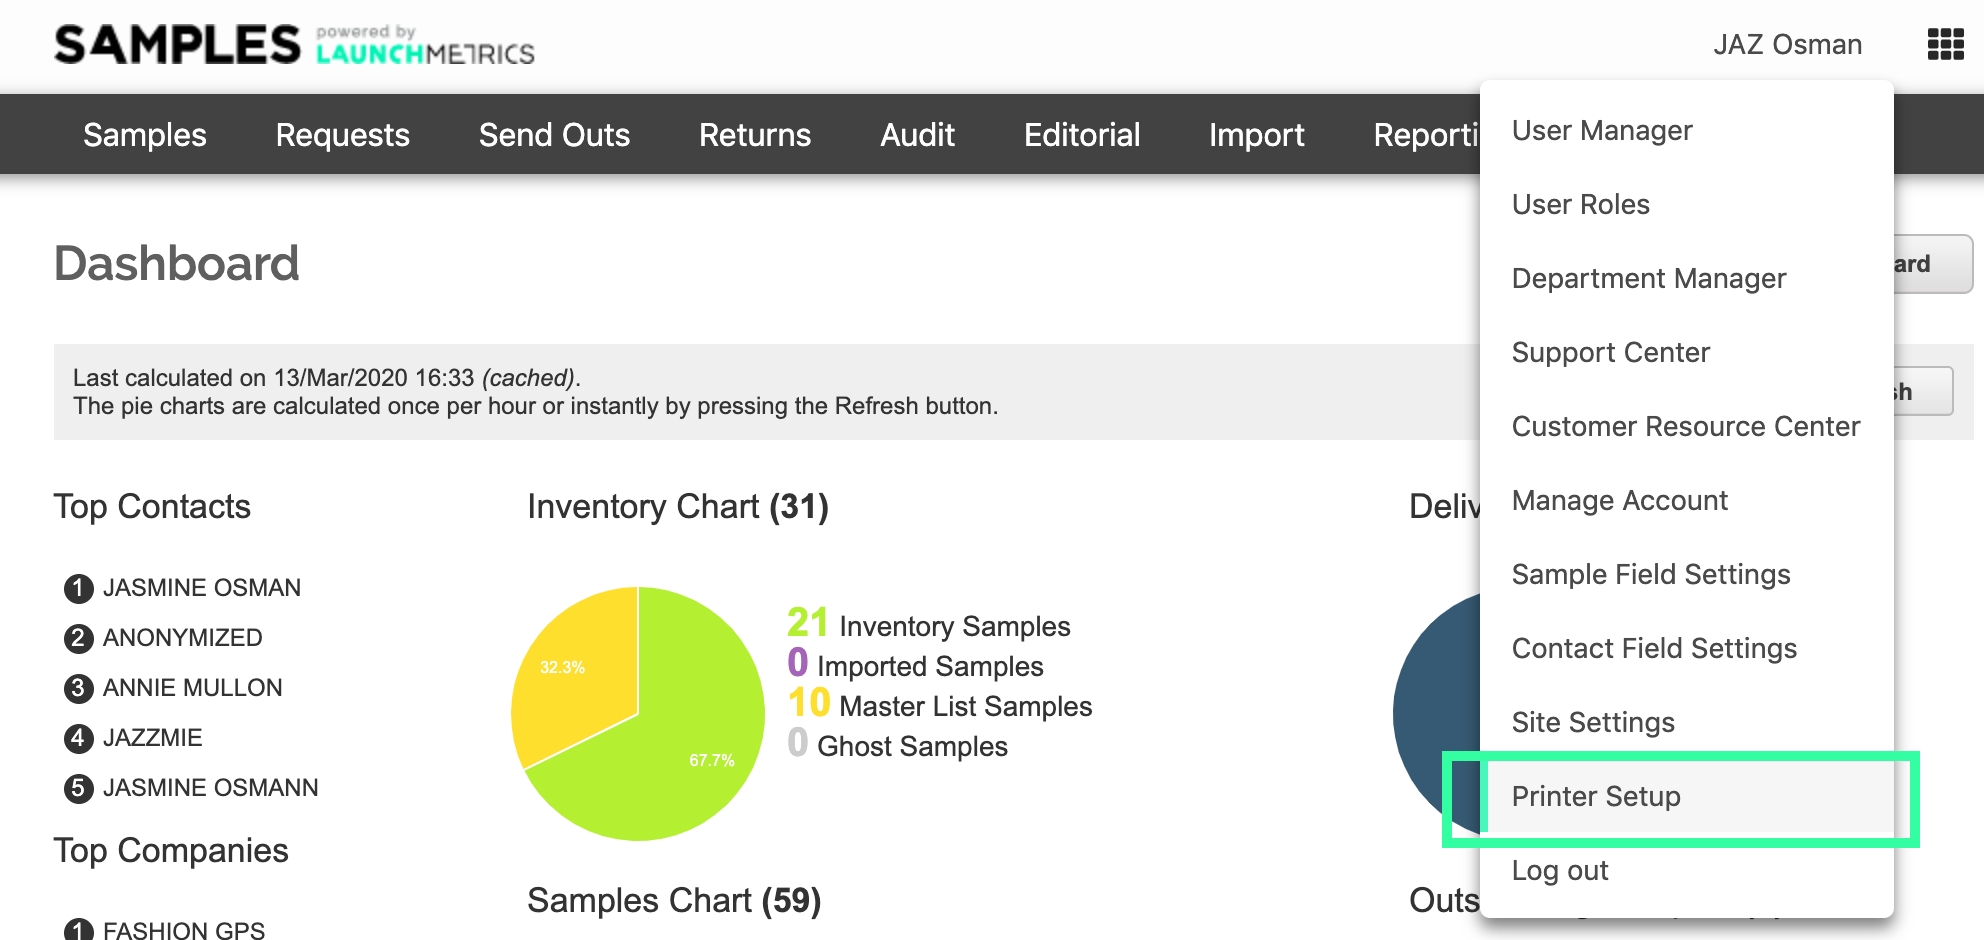
- Select "Printer Setup" and you will be taken to a new page.
-
You may receive a pop up asking to allow connection to QZ Tray
- Check "Remember this decision" (If you forget to check Remember, you'll have to allow each time you print)
-
Then click Allow

- In the Sample Barcode Label Printers section you will see 3 label types. Under at least one of the Label types, choose the printer you have just set-up, this will might be called "Barcode" or "TLP2824".
A note about Barcode Label types: The Label types essentially reference a template that has been configured for your department by your Launchmetrics CSM or Implementation specialist. Check with them to confirm which label type to use, but it will most likely be at least Barcode Label Type 1.
- In the Print Preferences section, under Default Printer, choose that same printer that you just selected.
Here you also have the option to turn on the Print Dialog
- Click Save Settings at the bottom of the page, and you are ready to print!
See the article Configure Fonts for your Printer to learn how to configure fonts and print a test page.