
Chart Builder
Build a custom seating chart for each of your events.

- Select "Chart Builder" from the Seating tab to begin creating your seating chart.
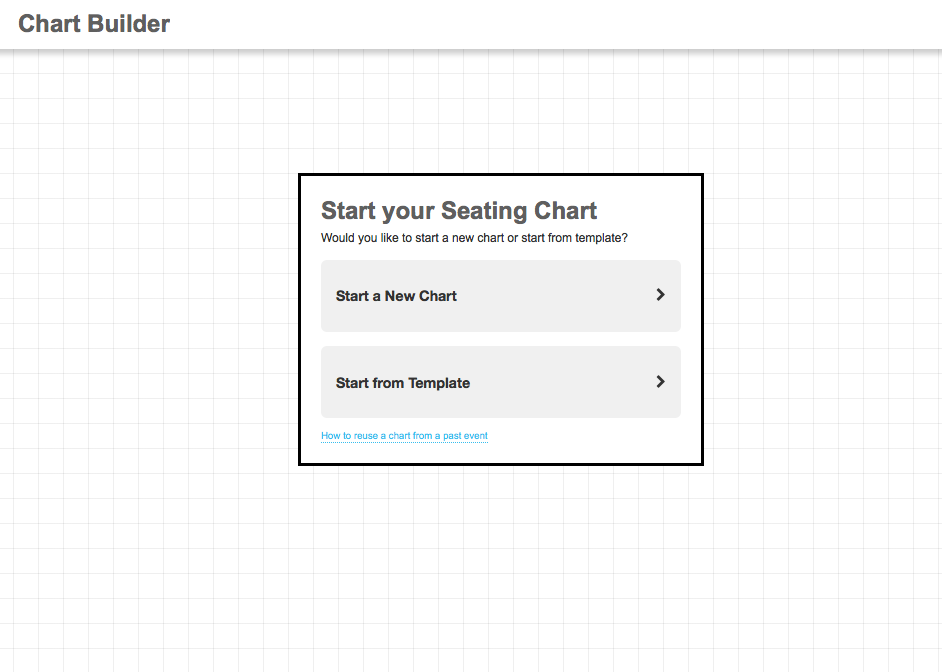
- Select whether to start a new chart or reuse a template from a past event.

- You can click on the checkbox to use the Group/ Levels which allows you group seats in the seating chart

- Select the Seating Standard that best suits your event. For example, if you're organizing a dinner, choose 'Table-1' to enable table insertion.
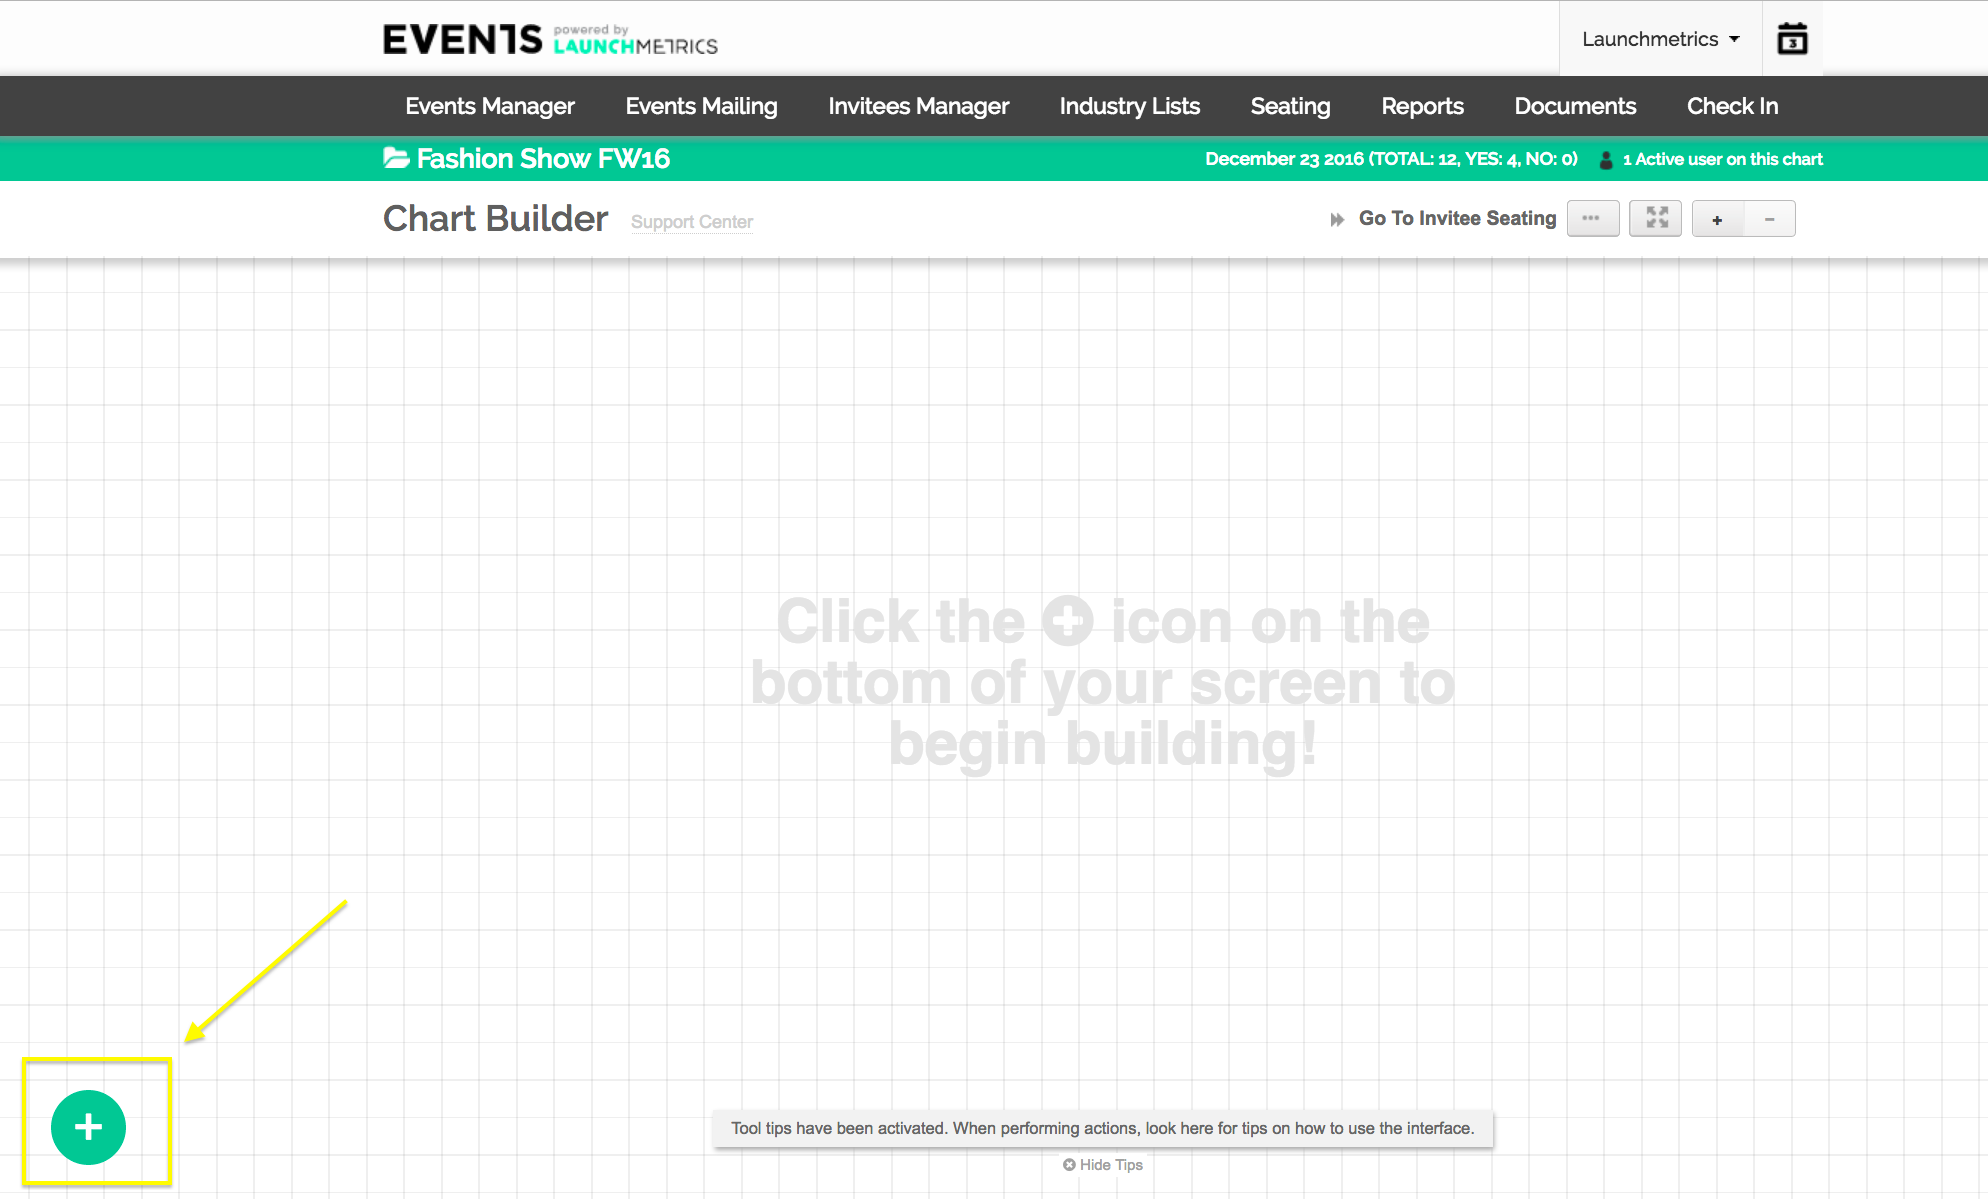
- Add elements by clicking on the Greem Add icon located on the left-bottom corner of the page and select the type of element you'd like to add.

Tip: Right-clicking on any part of the canvas will allow you to add elements on that specific position.
Adding Seating
Click on "Seating" from the "Add an Element" page or "Add Seat Block" from right-clicking the canvas.

- Enter the "Group" name only if you selected the "group/levels" when starting your seating chart
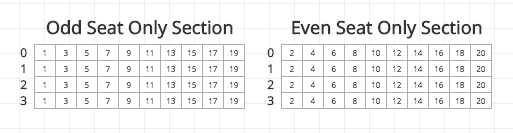
- Enter "Section" name and select the range of rows and seats for each row.
Tip: You can also select between only even or odd numbered seats.
Tip: You can also duplicate a seat block to save yourself time when creating identical or similar sections.
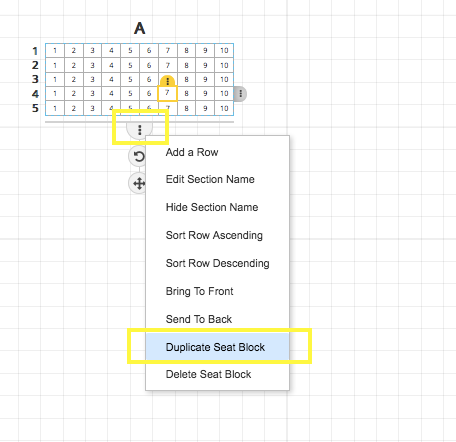
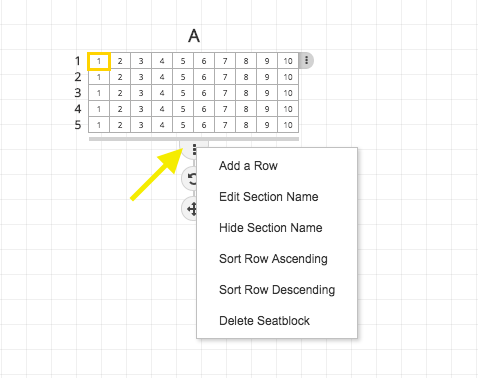
Seat Block Options
Select a seat block and click on the menu icon on the bottom to edit the seat block as a whole.
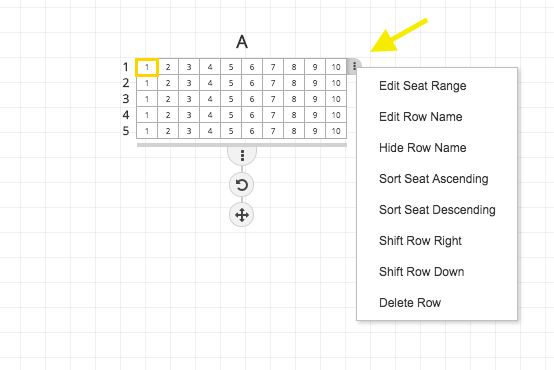
Row Options
Select a seat and click on the menu icon on the right to make changes to a row.
Seat Options
To edit a specific seat, zoom in and click on the seat and the menu icon on the top. Seat options will only be viewable when zoomed in.
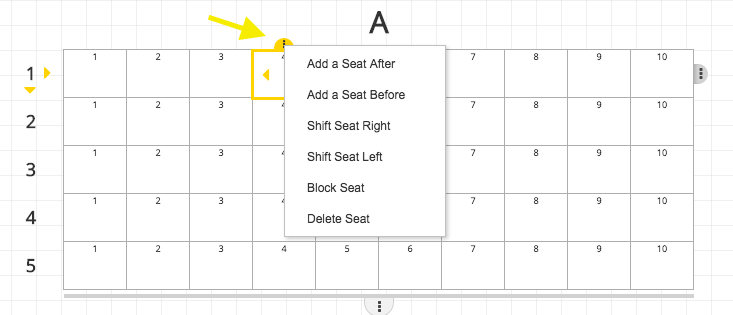
Tip: Shift seats and rows by clicking on the yellow arrows.

Adding a Shape/Runway
Click on the blue add icon or right-click and select "Add a Shape."

- Enter shape configurations for your element.
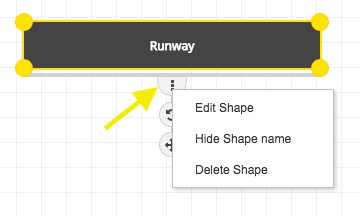
- Click on menu icon for shape options.
Adding a Label
Click on the blue Add icon or right-click and select "Label."
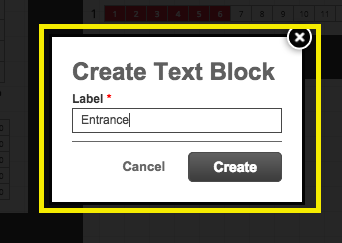
- Enter "Label" name and create.
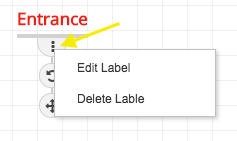
- Click on menu icon for options.
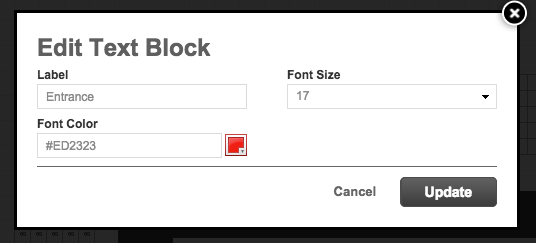
- Click on "Edit Label" to edit color and size.
Note: All work done is auto-saved.
Selecting and modifying multiple seats/sections
Selecting multiple seats to bulk modify them is quite simple, just follow these steps:
- Hold Ctrl (PC) or Cmd (Mac) and click seats, row labels, or section names to select them.
- Open the three-dot menu and apply changes to all the selected seats
.gif)
Useful Tips:
- In order to rotate and move elements, click and hold the icons.
- While rotating and holding down the SHIFT key, upon release the element will snap to 45 degrees.
- While rotating and holding down the SHIFT and CMD keys, upon release the element will snap to 90 degrees.
- While rotating and holding down the CMD key, upon release the element will snap to 10 degrees.
- While moving and holding down the CMD key, upon release the element will merge with other elements.
- While moving and holding down the CMD and ALT keys, the element will snap to 100px.
- PC Users: CTRL can be used instead of CMD.
- Hold CTRL (CMD key on Macintosh) while resizing a shape to activate the snapping feature.
- Hold SHIFT while resizing a shape to activate the preserve aspect ratio feature, so that both the width and height grow or shrink proportionally as you drag a corner or an edge.
- Hold both SHIFT & CTRIL (or CMD key on MAcintosh) to get both preserved aspect ratio and snapping to other objects while resizing.
- Hold both SHIFT, ALT & CTRIL (or CMD key on Macintosh) to get both: preserved aspect ratio and step-based snapping feature.
Note: Chart Builder is only supported in newer browsers. IE11 and above, Firefox v30 and above, Chrome v30 and above.